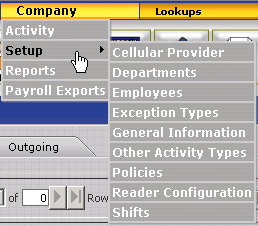
UI Configurations
User Interface Overview
The InfiniTime User Interface was designed with user friendly data entry and navigation in mind. Ease of use features, as detailed below, are included to assist the user with identifying and entering required information and navigating throughout the InfiniTime application. InfiniTime also includes duplicate prevention functionality to alert users of duplicate values in required fields such as the Employee Login ID which specifically require unique values across all employees in the database. An overview of data entry, navigation, and form completion related features included within InfiniTime is provided below.
Data Entry & Navigation Assistance
Time
Selection Tool - The time selection tool, referred to as the
Time Picker, provides users with a graphical interface for entering time
into a field. The Time Picker can be used for any field where the timeclock
(  ) graphic is displayed. Drop down menus
are used on the Time Picker. When the arrow of a drop down menu is clicked
on, a list of the menu contents is displayed. Only one item in the list
can be selected at a time.
) graphic is displayed. Drop down menus
are used on the Time Picker. When the arrow of a drop down menu is clicked
on, a list of the menu contents is displayed. Only one item in the list
can be selected at a time.
To use the Time Picker:
- Click on the timeclock graphic (
 )
)
![]()
- Use the drop down menu to select the desired hour.
- Use the drop down menu to select the desired minute.
- Use the drop down menu to select the appropriate time of day.
- Clicking the Now button will set the drop down windows to the current system time.
- Clicking the Select button will enter the time chosen by the drop down menus into the form.
- Clicking cancel will close the Time Picker window and return to the form. Any information selected in the Time Picker will not be entered in the form.
Date
Selection Tool - The date selection tool, referred to as the
Date Picker, provides users with a graphical interface for entering a
date into a field. The Date Picker can be used for any field where the
calendar ( 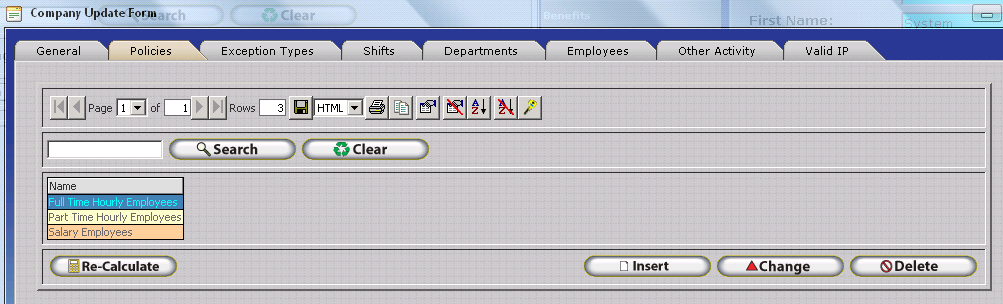 ) graphic is displayed.
The calendar graphic is always displayed to the right of a corresponding
date field. Any information selected with the Date Picker will be entered
into this field.
) graphic is displayed.
The calendar graphic is always displayed to the right of a corresponding
date field. Any information selected with the Date Picker will be entered
into this field.
To Use the Date Picker:
- Click on the calendar graphic. (
 ) A
calendar with the current month and day will be displayed.
If the field corresponding to the Calendar Graphic is blank,
then the current date will be highlighted in red on the calendar.
Should a date be in the corresponding field already, then
that date will be highlighted in red on the calendar.
) A
calendar with the current month and day will be displayed.
If the field corresponding to the Calendar Graphic is blank,
then the current date will be highlighted in red on the calendar.
Should a date be in the corresponding field already, then
that date will be highlighted in red on the calendar.
- Use the drop down menu to select the desired month. The left and right arrows can also be used to move ahead or backward one month
- Use the drop down menu to select the desired year.

- Click on the desired day to make your final selection and enter the selected values into the date field.
Date Field Navigation Shortcuts
As an alternative to the Date Picker, InfiniTime Date field entries may also be altered with the use of keyboard shortcuts.
To use keyboard shortcuts to alter InfiniTime Date Fields:
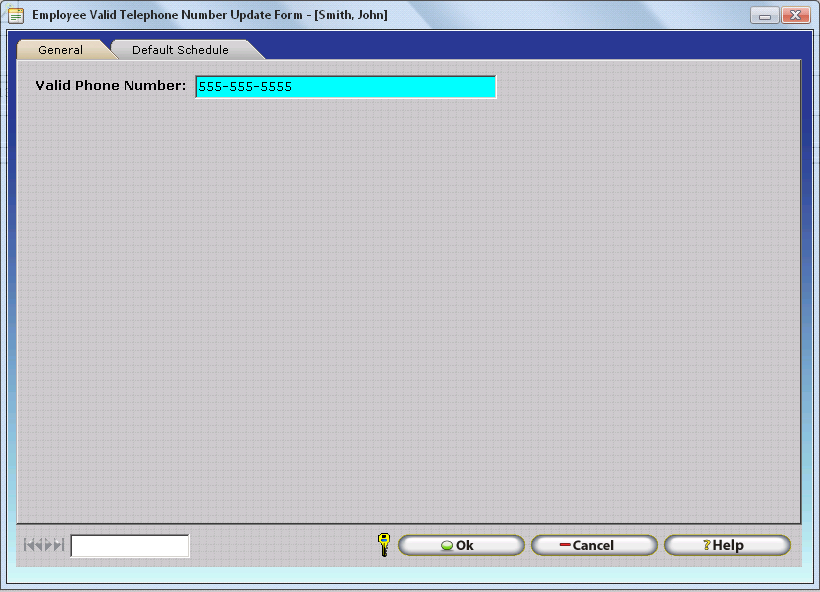
- Click in the date field that you wish to alter. The field is yellow when it is active and ready for use with keyboard shortcuts.
Inactive Date Fields Upper Date Field is Active

- Hit the key that corresponds to the action you wish to perform. Keyboard shortcuts are listed below.
| Date Field Keyboard Shortcut | Action |
|---|---|
| + | Adds one day to the date displayed in the Active Date Field |
| - | Subtracts one day from the date displayed in the Active Date Field |
| T or Home | Sets the Date in the Active Date Field to Today's Date |
| Page Up | Subtracts one month from the date displayed in the Active Date Field |
| Page Down | Adds one month to the date displayed in the Active Date Field |
| Shift + Home | Sets the Date in the Active Date Field to January 1st of the respective Year |
| Shift + End | Sets the Date in the Active Date Field to December 31st of the respective Year |
VCR Buttons - VCR buttons can be found on nearly every table or list in the InfiniTime software. These buttons are used to move between pages and entries in the list. VCR buttons are always displayed in a set of four.

| Description | Referred to As | Graphic |
|---|---|---|
| The first or left most button, moves to the first record or entry in the table. | âFirstâ VCR Button | |
| The second button moves back a record or entry in the table. | âPreviousâ VCR Button | |
| The third button moves forward a record or entry in the table. | âNextâ VCR Button | |
| The last or right most button moves to the last record or entry in the table. | âLastâ VCR Button |
The VCR Search Filter allows the user to enter a word, letter or phrase, and filter the records that can be accessed with the VCR buttons accordingly.
For Example: In a company with a few hundred employees advancing through the employees one by one would not be practical. Typing Stephen into the search filter and clicking on one of the VCR buttons will:
- Search through all employee records and fields for âStephenâ
- Employees that live on Stephen Lane, with the last name of Stephens, and the first name Stephen will be made available for display with the VCR buttons.
- The first record or closest match to the word in the search filter will be displayed first.
- Using the Next, Previous, First, and Last VCR buttons will move among the records available for display.
Using a letter or phrase in the search filter functions similarly to a name or word. All records containing the letter or phrase will be made available for display with the VCR buttons.
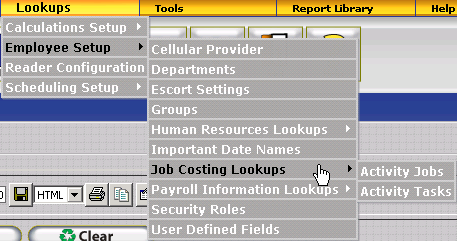
Magnify
Glass - The magnify glass is displayed to the right of every
form item that requires a selection from another table or list with the
InfiniTime software. For
example, when setting up employees, the default department must be selected.
Users have the option of typing the first few letters of a department
name into the field and allowing auto complete to enter the rest of the
department name or viewing the department table using the Magnify Glass.
The magnify glass can be used wherever the  icon is
displayed.
icon is
displayed.
To use the Magnify Glass:
- Click on the Magnify glass Icon.
- A list of available items will appear.
- Click on the desired item to select it.
- Click on the Select button.
For Example:
Using the Magnify Glass to select a default department:
- Click on the Magnify Glass Icon to the right of the Default Department field.

- A list of available departments will appear. Click on the desired department to select it.
- Click on the Select button.
- The selected department is entered into the default department field.
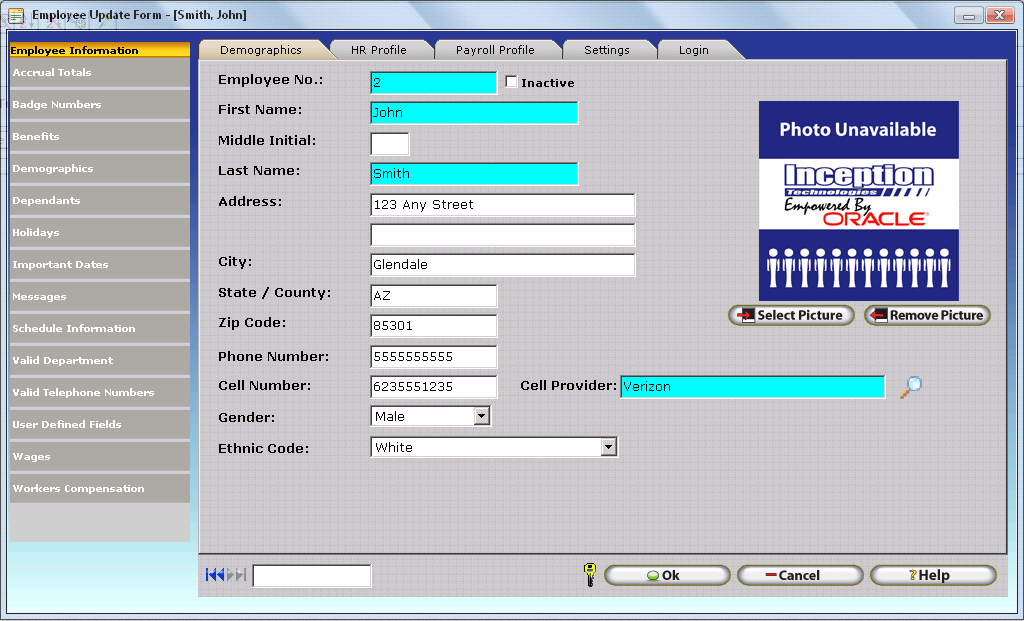
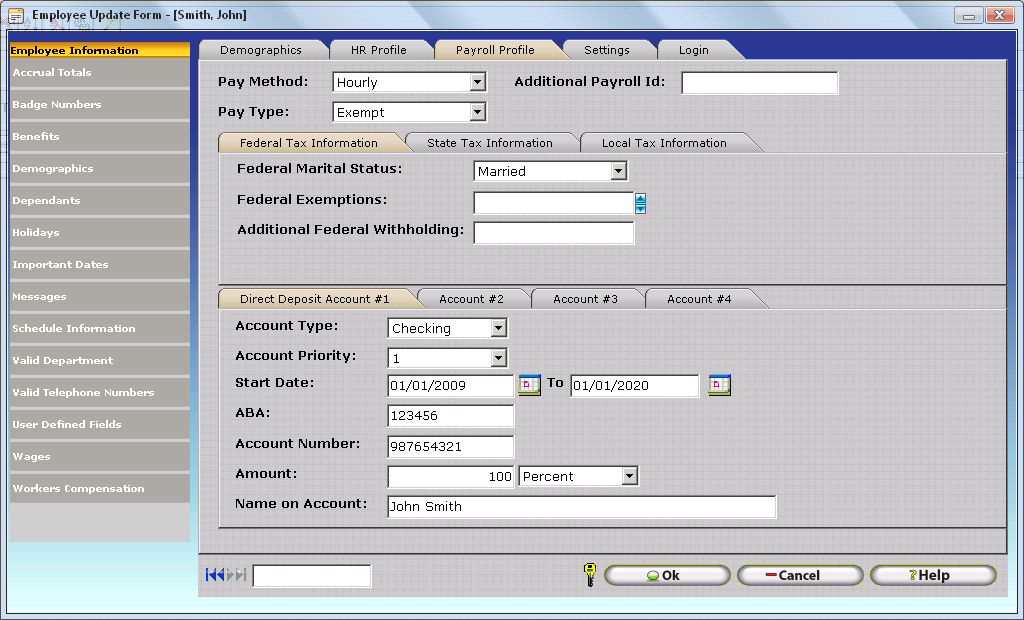
File Selection Tool - InfiniTime allows you select files for import from your local machine into the software.
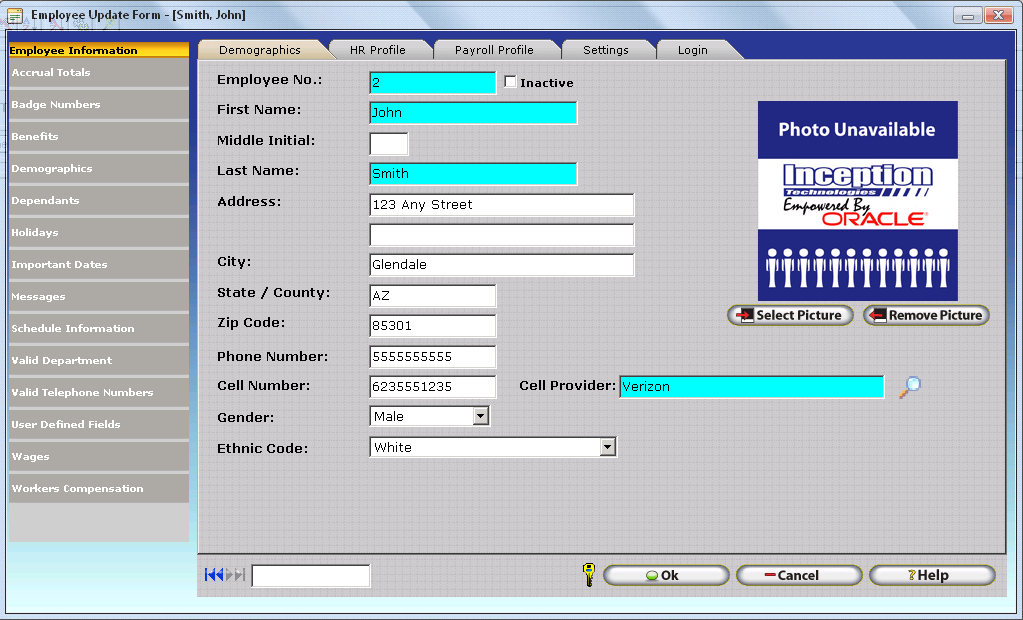
From anywhere in the software where it asks you for a file, like in the import tool, or selecting a picture for the employee update form, you can select a file by clicking in the browse button and selecting the correct file. it will make a copy of that file and place it in the INPUT directory in the InfiniTime Server.
Example:
How to add a picture to an employee's record
- On the employee
update form click on

- Click on the Browse Button on the File Selection Window

- Browse to the Location on your PC with the file you wish to Import into InfiniTime

- Click on the file you wish to import to select it then click on Open.
- The full path of the previously selected file will be displayed in the File Selection Window. Click OK to import the file and save the image as part of the employee's profile.
Form Completion Assistance
Auto Complete - All fields within InfiniTime which reference a separate table support the use of Auto Complete. Fields which support auto complete are often referred to as lookups, because these fields look up settings and details configured elsewhere within InfiniTime. Auto complete makes it possible for users to partially enter their desired value. InfiniTime will then automatically complete the rest of the field based on information that has been entered.
Technical Note: If a value is entered in a required field that does not match an item in the database InfiniTime will automatically clear the field and prompt the user to enter a valid value.
EXAMPLE: If the System Administrator account were to be entered for the Supervisor, typing the first letter of the last name (A) will show the entered information (A) and automatically complete the rest of the field. Selected information is added automatically by auto complete.
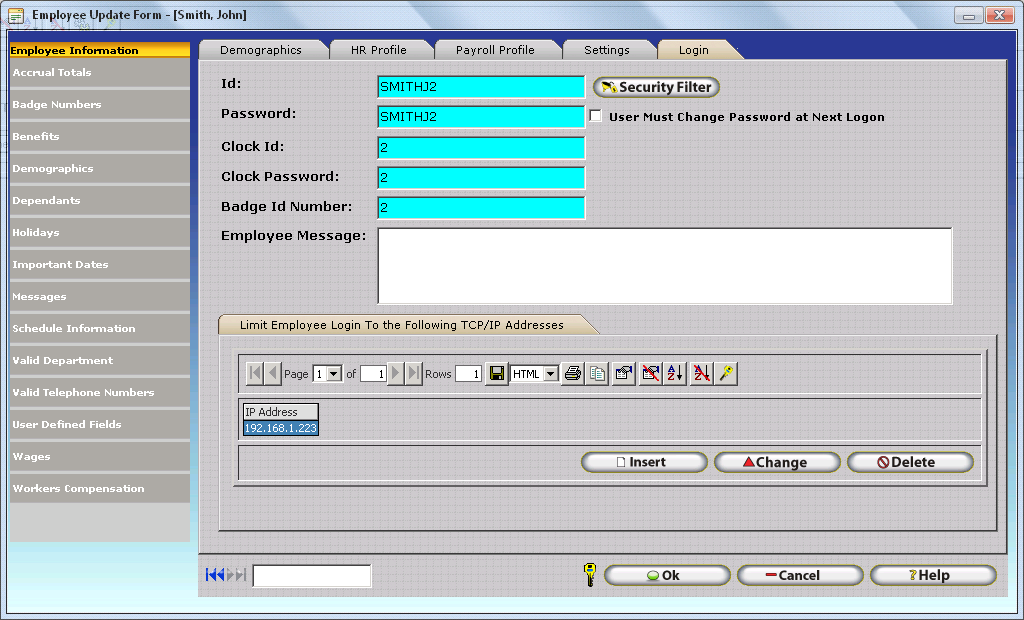
Only Lookup Fields which are displayed within InfiniTime with the Lookup Magnify Glass, as highlighted in red below, include the auto complete feature.
![]()
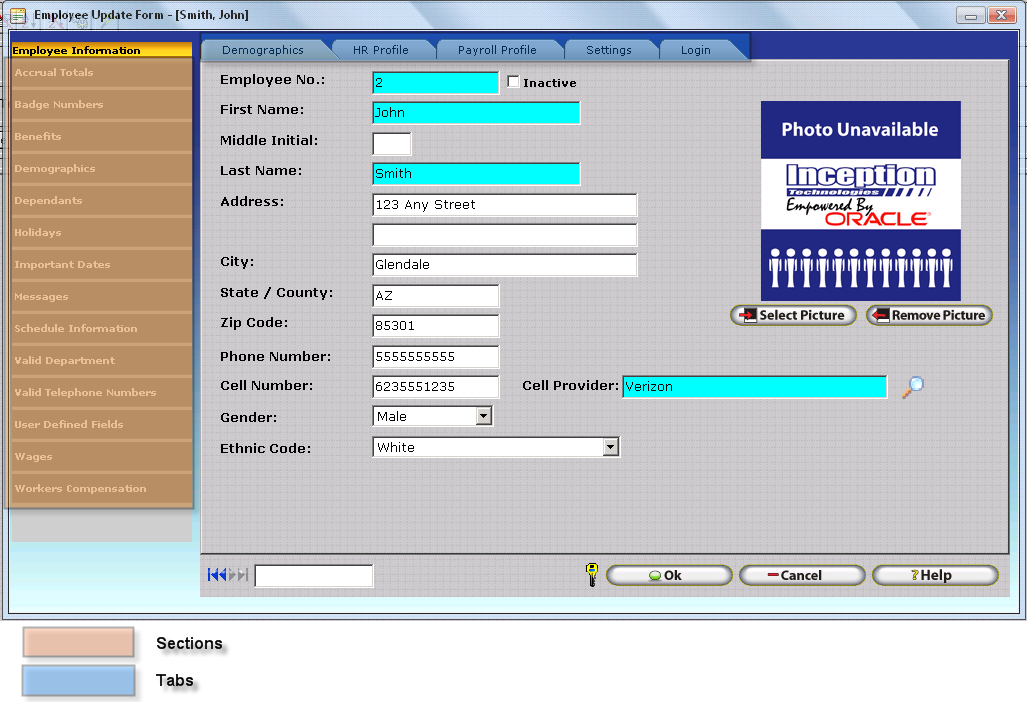
Color Coded Fields - InfiniTime uses field coloring to assist users in data entry. Some fields are required, while many are optional and can be filled out at a later date. The following table contains information about field coloring.
| Color | Description |
|---|---|
| Yellow | Active Cell: If you click in a field the background turns yellow. This helps users identify which field they are working in. |
| Blue | Required Field: Any fields in blue must be filled out. Should you miss or skip over any blue fields the InfiniTime software will warn you and prompt you to fill it out properly. InfiniTime permits the Software Administrator to specify fields they wish to consider required throughout the software. This functionality allows the Software Administrator to strictly control and enforce accurate tracking of employee information. For more information refer to Configuring Required Fields. |
| White | Optional Field: Any fields in white are optional and do not have to be filled out. The software can be used for basic time and attendance purposes without the entry of Optional Fields and values. If it doubt, refer to the Help Documentation for the respective section of the program. All fields and options within InfiniTime are documented with an explanation of how the option can be used within the InfiniTime Electronic Help System. |
User Configurable Required Fields - InfiniTime permits employees with the right to Edit Security to specify fields they wish to consider required throughout the software. This functionality allows InfiniTime Software Administrators to strictly control and enforce accurate tracking of employee information. For example, though the InfiniTime Application does not require Employee Address Information, Phone Numbers, or Emergency Contact Information to function, these fields can be configured as required fields. Users responsible for entering employees would then be required to fill out this information before InfiniTime would allow the employee record to be added to the system. This is simply an example of how configuring required fields can be used. Nearly every optional field within the InfiniTime Application can be set to required if desired by the user. Fields required for the InfiniTime Application to function are set to required by default and cannot be set to Optional by the user.
Configuring Required Fields
- To set required fields for a window, open the window you wish to configure and click on the Security Key.
Note: You must be logged in as a user with the right to Edit Security. Refer to Security Roles for more information on InfiniTime Security Settings. For clarity purposes, the Employee Update Form will be used as an example.

- The Form Security Table will be displayed. Click on the Required tab.

- Search for the field(s) you wish to set as required.
- Click on the drop down box for each desired field and set the Required Status to True. Click Close to save your changes.

- In this example, additional required fields were set for the Employee Update form. If a user attempts to add an employee without fill out out all required fields InfiniTime will prompt the user to complete any items they missed as shown below.
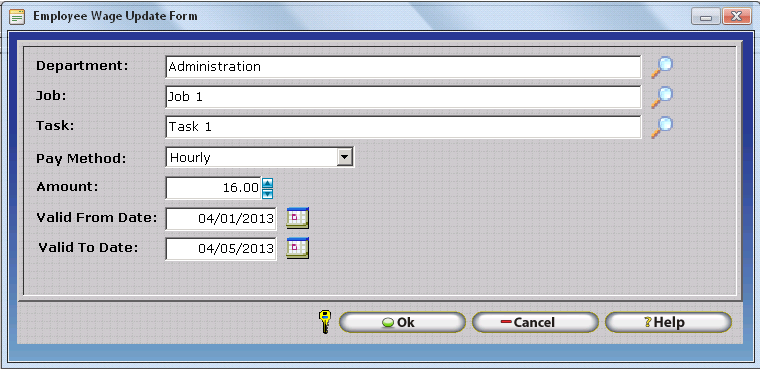
Field Tool Tips - All update forms within the InfiniTime Software, such as the Employee Update Form used for adding employees, the Policy Update Form used for adding policies, or the Department Update Form used to update Departments include tool tips intended to prompt users to enter appropriate data. To view a fields function and / or intended purpose, simply hover the cursor over the field in question. A tool tip will be displayed as shown below. Tool tips provide a short summary of expected field content.

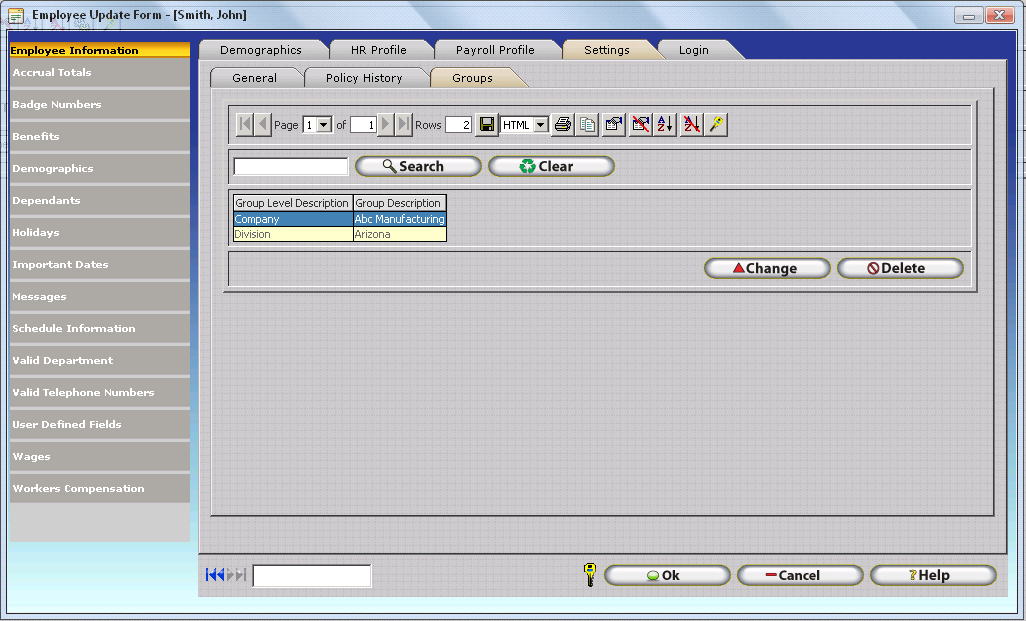
Duplicate Prevention - Users should be aware that most tables within the InfiniTime software can not contain duplicates. Should the user attempt to enter a duplicate record, such as two employees with the same Employee Login ID or two Group Levels of the same name the software will warn the user and prompt for a different entry. The duplicate entry will not be saved.
Additionally, InfiniTime's Data Import Tool includes a full-featured duplicate checking scheme in order to avoid issues that could result should duplicates be present in the database. If duplicates are found during an import the software will discard or replace existing records depending on settings chosen during import. Detailed information regarding import duplicate checking can be found in the Import section of this document.
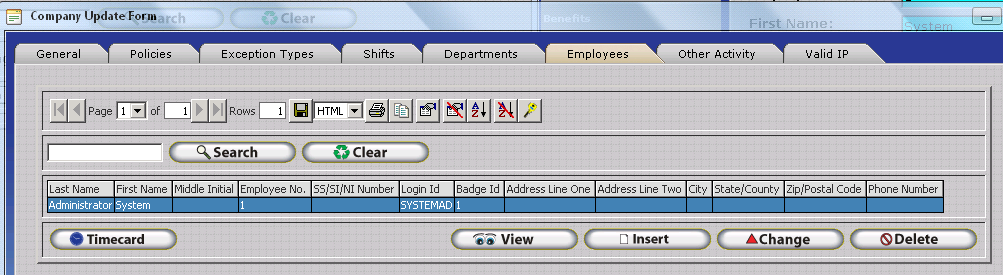
Customizable Table Display: InfiniTime Grid Controls
InfiniTime uses a grid system to display information in an organized, structured, and standardized fashion. Each table and list is presented in a similar layout with the InfiniTime Grid as the major build block. Use of a grid system helps keep information accessible and orderly regardless of database size through the use of various features such as the ability to filter items based on a search term.
The InfiniTime Grid is fully customizable and can be tailored to meet user needs. Each window stores a set of configuration settings allowing the user to customize each window individually.
The image above, taken from the Employee Table, shows how Grid Controls and a Search Field are displayed above the grid. Headings appear atop each grid column to describe the information below. This document uses the Employee Table as an example, though it should be noted that the grid controls are displayed on every table where the grid is used.
Click on each control below for more information about its uses. Page controls are gray when there are no available pages in that direction. Once multiple pages are available the controls will become active and turn blue.
Technical Note: Some grid buttons may not be available depending on your browser. Firefox for example does not support clipboard access or printing from InfiniTime.
First Page  .gif)
.gif)
Updates the grid with the first page of records. Page 1 will be displayed in the current page drop down box.
Previous Page  .gif)
.gif)
Updates the grid with records from the previous page and decreases the page number in the current page drop down box by one.
Current Page  .gif)
.gif)
Provides a drop down box that can be used to select the page you wish to view. Also displays the current page. Viewing a different page can be accomplished by clicking on the drop down tab and selecting the individual page you wish to view.
The total amount of pages is displayed on the right. This value is updated automatically as additional records are added to the database. When the number of records exceeds a preset record per page limit then a new page is created. The number of records displayed per page can be configured in the Grid Configuration Window.
Next Page
![]() .gif)
.gif)
Updates the grid with records from the next page and increases the page number in the current page drop down box by one.
Last Page .gif)
Updates the grid with records from the last page and displays the final page number in the current page drop down box.
Total Rows 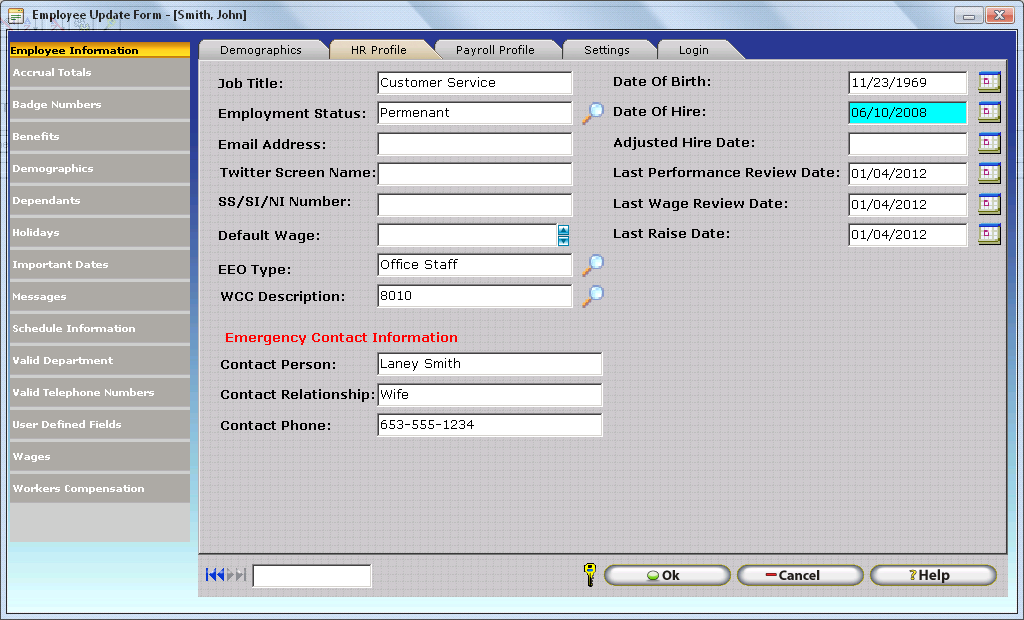 .gif)
.gif)
Displays the total number of rows, or records, in the grid. This number is updated automatically as records are added and removed.
Save Grid
Results  .gif)
.gif)
Users have the option of saving all records displayed in the InfiniTime Grid in any one of five formats. To save the grid, select your preferred format from the drop down box and click the Save Grid Results icon. Specific instructions are provided by format below. Should the grid contain multiple pages of information records on each page will append to the end of the document after those from the previous pages. The end result is a single document with all records in the grid.
Save Grid Results As - HTML
Grid Results are immediately saved in an HTML format on the InfiniTime server. The file is automatically opened on your machine in your default web browser. Results can then be printed or saved using your web browserâs interface.
To save the results:
- Click on File.
- Click on Save or Save As.
- Browse to the desired location on your computer.
- Enter a file name.
- Click Save.
Technical Note: Internet Explorer 7.0 may alert you that it is possible for the page to not save correctly. Click OK. There should be no complications with saving the grid results as long as the file is saved with the .htm or .html extensions. The default file name when saving in the HTML format is dbnetgrid_aspx.html and can be changed at the users discretion as long as the extension is not altered.
Save Grid Results As - WORD
Grid Results are immediately saved in a Microsoft Word format on the InfiniTime server. The file is automatically opened on your machine in your default web browser. Results can then be printed or saved using your web browserâs interface.
To save the results:
- Click on File.
- Click on Save or Save as.
- Browse to the desired location on your computer.
- Enter a file name.
- Click on the Save as type Drop down box
- Select Word Document from the list
- Click Save.
![]()
The default name for Word Documents is dbnetgrid. This can be changed at the users discretion.
Save Grid Results As - Excel
Grid Results are immediately saved in a Microsoft Word format on the InfiniTime server. The file is automatically opened on your machine in your default web browser. Results can then be printed or saved using your web browserâs interface.
To save the results:
- Click on File.

- Click on Save or Save as.
- Browse to the desired location on your computer.
- Enter a file name.
- Click on the Save as type Drop down box
- Select Microsoft Excel Workbook from the list

- Click Save.
![]()
Excel Documents do not have a file name entered by default. Users must enter a file name before saving the file.
Save Grid Results As - XML
Grid Results are immediately saved in an XML format on the InfiniTime server. The file is automatically opened on your machine in your default web browser. Results can then be printed or saved using your web browserâs interface.
To save the results:
- Click on File.
- Click on Save or Save as.
- Browse to the desired location on your computer.
- Enter a file name.
- Click on the Save as type Drop down box
- Select XML Files from the list.

- Click Save.
Save Grid Results As - CSV
Grid Results are immediately saved in a CSV format on the InfiniTime server. The file is automatically opened on your machine in your default web browser. Results can then be printed or saved using your web browserâs interface.
To save the results:
- Click on File.
- Click on Save or Save as.
- Browse to the desired location on your computer.
- Enter a file name. The .csv extension must be added to the end of the filename in order to save the file in the csv format.
- Click on the Save as type Drop down box
- Select Unicode Text from the list.

- Click Save.

The default name for CSV Files is dbnetgrid. This can be changed at the users discretion.
Technical Note: You may be prompted that the document contains features that are not compatible with Unicode Text. Save the file anyway, as by typing the .csv extension the file is automatically saved in a comma-delimited format.
Technical Note: Comma Delimited Files generated by InfiniTime should be opened for viewing with Excel or Notepad.
Print Grid Results
![]() .gif)
.gif)
Displays the default windows printer selection window allowing you to choose from local printers to print grid results directly.
Copy Grid to
Clipboard  .gif)
.gif)
Places all grid results in the clipboard in a table form. The table can be pasted to any graphic or word editor. Keep in mind the table format may vary depending on the features supported by your word editor. For example, Notepad is unable to display a graphical table and will simply separate items with spaces.
Once the grid results are successfully copied the following image is displayed:

Select Grid Columns
.gif)
Gives users the ability to choose which columns will be displayed in the grid. For example, many companies will not want the Social Security number to be visible. This field can be removed from the grid with this feature.
The Grid Column Selection Window provides four interactive buttons as described below. These buttons are used to add and remove columns from the grid and can also alter column order.
Moves highlighted records in the âSelectedâ list up. This has the
effect of moving the column to the left on the grid itself.
 Moves highlighted records in the âSelectedâ list down. This has
the effect of moving the column to the right on the grid itself.
Moves highlighted records in the âSelectedâ list down. This has
the effect of moving the column to the right on the grid itself.
Moves highlighted records in the âAvailableâ list to the âSelectedâ
list, effectively adding the item as a new column on the grid.
 Moves highlighted records in the âSelectedâ list to the âAvailableâ
list, effectively removing the column from the grid.
Moves highlighted records in the âSelectedâ list to the âAvailableâ
list, effectively removing the column from the grid.
Restores Grid Defaults  .gif)
.gif)
Restores the default grid column configuration.
Specify
Nested Order Levels  .gif)
.gif)
Provides users the option of altering the order by which records are displayed in the grid. Records can be displayed by alphabetical or numeric order by single or multiple fields.
Configuring Grid Display Order:
Highlight the item desired from the Sort Columns List.
Click Add.
The item will be added to the sequence on the right side of the page as shown.

Use the drop down box to choose between ascending or descending order.
![]()
Order levels are performed in priority. Ordering levels at the top of the sequence take precedence over those at the bottom. Level 1 has the highest priority. Items can be removed from the sequence by clicking delete.
Note: Only those columns that are displayed by the grid, as chosen during Grid column configuration, will be available for sorting purposes.
Reset Grid Default Sort
 .gif)
.gif)
Restores the default grid sorting configuration.
Grid
Configuration Window  .gif)
.gif)
Grid Security
.gif)
Grid Security, combined with Security Roles, allow the Software Administrator to configure InfiniTime down to the exact button. Each employee is assigned an employee role. When the employee signs into the software with their login ID the software recognizes the employee role they have been assigned and grants or denies access to the software based on those rights. Window access is controlled by Security Roles, while Grid Security is responsible for button access
Two options are provided for button security, Hidden and Normal. Normal displays the button and permits interaction. Hidden removes the button from view, effectively removing access to that portion of the software.
Each security role has a unique set of button security settings. Be sure to configure Grid Security for each role based on your companyâs unique access requirements.
Configuring Grid Security:
- Select the security role you wish to configure.
- Select appropriate settings for each button.
![]() Resets default security configuration settings for the selected security
role.
Resets default security configuration settings for the selected security
role.
Additional Details on configuring Security within the InfiniTime Software can be found in the Security Configuration Section of this document.